
In today’s world, there’s something special about looking through an old photo album. But to make sure these memories last for years to come, turning them into digital files is a smart move. You need to scan your old photos – there’s no doubt about it.
We at Mylio understand this and offer a free scanning course with helpful tips to get you started. It’s perfect for learning the ins and outs of converting your printed memories into digital keepsakes. Before you start digitizing your cherished memories, follow these recommended steps for a smooth and rewarding experience.

Step 1: Sort and Select for Scanning
Jump into your stash of photographs and start choosing the ones to scan. Look out for duplicates and consider which ones tug at your heartstrings the most. A fun idea: ask family or friends to help! They can help you pick and tell the stories behind the pictures, which you’ll want to remember when you look at your digital versions.
Step 2: Preparing Your Photos for Scanning
Time can be harsh on old photos. Before scanning, gently dust them off with a soft cloth, and if they have tears or faded colors, you should fix these issues. This step makes sure your digital images will look their best.
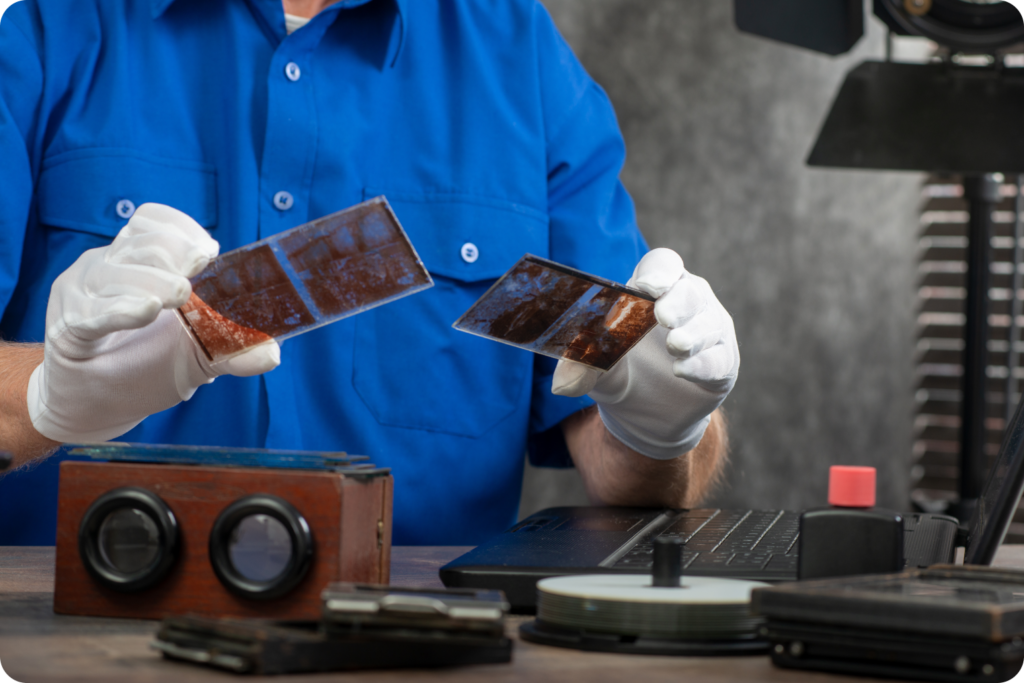
Step 3: Choosing the Right Scanning Equipment
If you’re scanning at home, a good scanner is critical. You should get one that scans at 600 dots per inch (dpi) for photos. For things like slides or negatives, aim for a scanner that can do 3000 dpi. Features that fix color and remove dust can breathe new life into old photographs.
DIY Scanning Advice
For those scanning at home, remember these pointers:
1. Scan in color to catch all the detail, even for black-and-white images.
2. Save in TIFF for the highest quality or JPEG if you need to share them easily.
3. Use the highest resolution for scanning to capture all the details.
When to Seek Expert Scanning Services
If you have a mountain of photos, if they’re very fragile, or if you want the highest quality, you should look into professional scanning services. They have advanced equipment and can improve your photos, too. If you decide to look for professional help, start here.
Organizing with Mylio Photos After Scanning
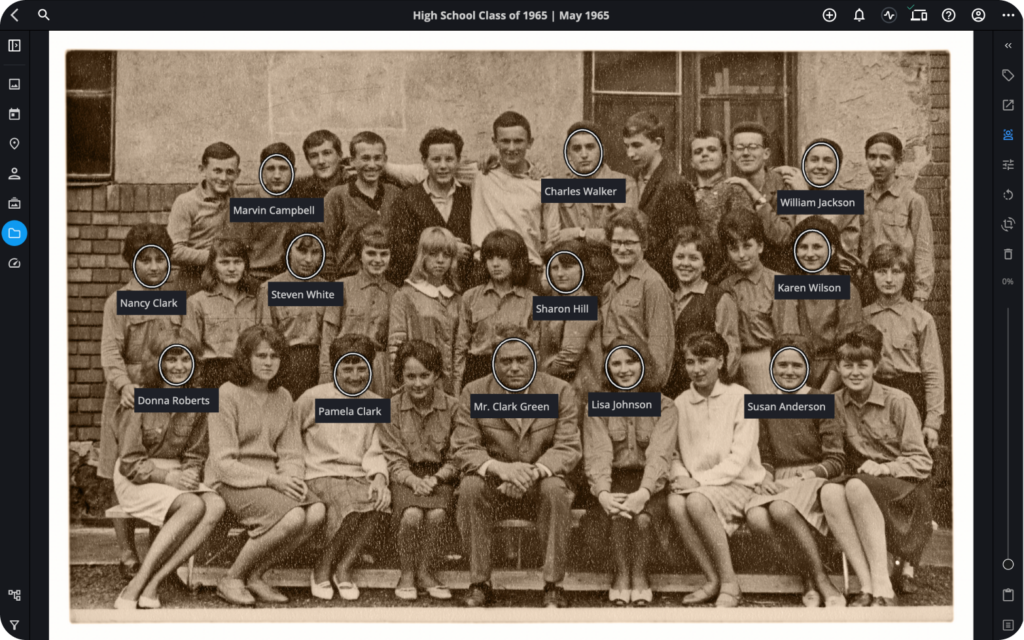
Once you’ve scanned your pictures, keeping them organized is essential. Mylio Photos is perfect for this. It syncs your photos across your devices, uses face recognition to help sort them, and makes it easy to find anything in a few clicks. Its calendar feature lets you reminisce about past events, and Shared Albums make it easy to let your loved ones relive those events together. Here’s how Mylio Photos will help you preserve your family legacy.
Archiving Your Digital Photos
Keep your digital photo files safe by storing them in different places, like an external drive and a cloud service. Regularly check them to make sure they’re still good. It’s also nice to print out the ones you love because nothing beats holding a photo in your hands.
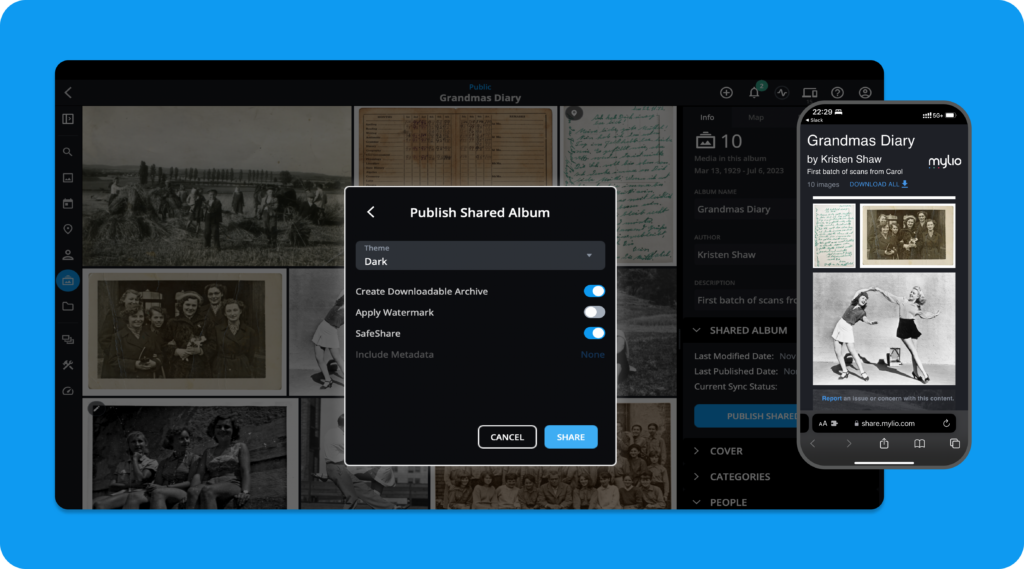
Sharing with Mylio’s Shared Albums
After your photos are digitized and organized, Mylio’s Shared Albums feature is a great way to share them with people you care about. It’s an easy way to spread the joy of your memories with friends and family.
Sharing on FamilySearch
When working on your family tree, consider building one on FamilySearch.org and share your most memorable family photos there. Family Search is one of the world’s most prominent family history platforms, with billions of records and excellent family history tools. Mylio Photos makes it simple to upload your photos right to FamilySearch, keeping all the essential information and stories attached to them. It’s a powerful way to connect with your family history.
With these easy steps and Mylio Photos as your memory-keeping partner, you can preserve your photo memories for generations. Have fun scanning and sharing the stories that make your family unique!