
The purpose of a photographic camera is to transform the three-dimensional reality in front of the lens into an accurate two-dimensional picture. But the result depends on the quality of the available light. And while shutter speed, aperture, and ISO deal with the light’s intensity, white balance deals with the color of the light.
Therefore, if you want photographs with natural-looking colors, you need to understand white balance and start setting up the camera by adjusting the white balance according to the available lighting conditions. The following guide will explain in detail what white balance is, how to adjust it, and when to rely on automatic settings and when not.

What Is White Balance?
White balance is a camera setting that establishes what filtering the camera has to do in order to represent white objects as white areas in the photograph. It is essentially a calibration process that ensures high color accuracy by eliminating the color casts induced by light. By establishing a reference color point (white), all the other colors will be correctly represented. As a result, your photos will look realistic and have natural-looking colors.
You need white balance because the light is not always white. It may have another color. For example, natural light is closer to orange during the golden hours, closer to blue on overcast days, and closer to white on sunny days at noon. Artificial light may also have different colors based on its source (e.g., fluorescent bulbs, LED panels, candles, household bulbs with warm or cool light, etc.).
The color of light is called color temperature and is measured in Kelvin (K). Understanding white balance starts with understanding color temperature because when the light is warm or cold, the camera has to compensate to create a correct representation of colors.
Color Temperature
Color temperature is a physical property of light. It is called color temperature because it represents the spectrum of light radiated by a black surface with a particular temperature. Surfaces with high temperatures radiate cool colors in the spectrum of blue and violet. Surfaces with low temperatures radiate warm colors in the spectrum of orange and red.

Wikipedia: Approximation of the hues of the Planckian locus as a function of the Kelvin temperature, rendered with a white point near 6500 K.
Professional Photo Color Correction
For photography and white balance in particular you need to know that perfectly white light has a color temperature of 6500K. Daylight on a sunny day has a neutral color and around 5000K color temperature. This type of light doesn’t create a color cast. That’s why flash units have a color temperature of approximate 5500K; they try to replicate daylight.
Light during the golden hours, household bulbs with warm light, and candlelight are warm and have a lower color temperature (3000-4000K golden hours, 2500-3500K household bulbs with warm light, 1000-2000K candlelight). They produce an orange color cast.
Photo by Petr Vyšohlíd on Unsplash
Daylight on overcast days and household bulbs with cool light have a higher color temperature (6000-10000K). They produce a blue color cast.

White balance should consider the color temperature of the available light to be able to remove its color cast and produce accurate colors.
When to Set Up White Balance Manually
Setting up white balance manually, like setting up any other camera setting, ensures you get exactly what you want and eliminates possible camera errors. You evaluate the color temperature of the available light and tell the camera what to do. That’s no room for mistakes.
One way to go is to set the white balance correctly to eliminate any color cast and produce photographs with high color accuracy. Another way to go is intentionally allow or even emphasize a color cast and create an artistic effect by setting a slightly erroneous white balance. For example, you may want to add a warm color cast to enhance autumn foliage or a subtle blue color cast to convey the cold of a winter day. In these situations, you tell the camera that the available light’s color temperature is colder or warmer than it actually is to enforce color compensation.


Correct photograph versus slightly golden version due to an intentional off-white balance.
Professional cameras have a Custom White Balance setting that allows you to photograph a neutral white surface in the same lighting conditions you have during the photo shoot and use it as a reference white point. You need a neutral white card or a white surface in your photograph space for this setup.
Another way to set up white balance manually is to give the camera the color temperature of the available light. The camera will compensate with its opposite color temperature. Remember, daylight has a color temperature of around 5000K. Anything less than that means warm light, and the camera will compensate by increasing the amount of blue. Anything higher than that means blue light, and the camera will compensate by increasing the amount of orange.
However, if the lighting conditions change during the photo shoot, you must redo the white balance setup. Studio photographers usually set up white balance manually for each photo session because they control the lighting design, and the scenery doesn’t change (e.g., product and commercial photography, headshots and portraits, fashion and beauty photography, etc.). But outside the studio, it may take too much time and effort to set up white balance whenever the lighting conditions change, which makes many photographers use white balance presets instead.
White Balance Presets
White balance presets are predefined settings that speed up the white balance setup process. Most cameras offer white balance presets for the most common lighting situations, such as Daylight (5600K), Cloudy(6000K), Fluorescent(4000K), Flash(5500K), Incandescent(3200K), and Shade(7000K).


In order, Incandescent, Fluorescent, Cloudy, Shade
Some cameras also allow you to create custom presets for other lighting situations you frequently encounter. Check out your camera’s manual, and don’t waste time if you have predefined white balance settings you can use.
When to Use Auto White Balance
Auto white balance means letting the camera decide the color temperature of the available light and compensate it accordingly. It’s fast and helpful when you move from one lighting scenario to another within the same photo shoot. For example, if you move from photographing subjects in full sunlight to photographing subjects in the shadows, you don’t have time to manually adjust the white balance each time you move the camera.
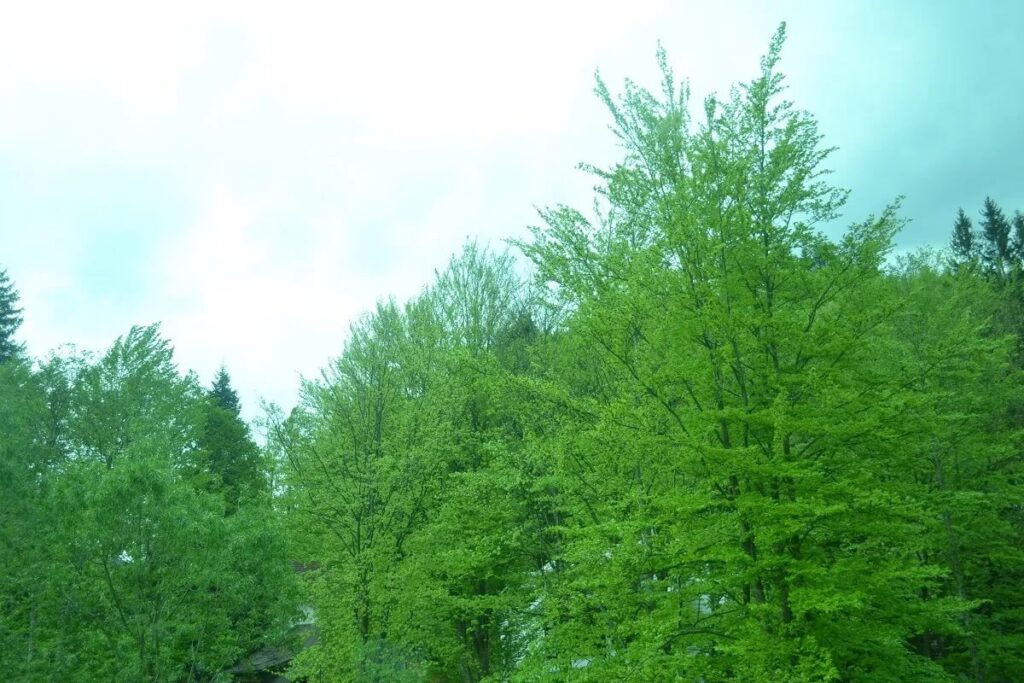
However, auto-white balance isn’t always precise, which means it may overcompensate for particular color casts. For example, if your scene includes many warm colors (e.g., autumn foliage, a field of orange flowers, etc.), the camera may use a white balance for low temperatures and create a cold, bluish landscape. On the contrary, if your scene includes cold colors (e.g., a blue evening sky), the camera may use a white balance for high temperatures and create yellow buildings or people.
The camera uses the entire scene to determine the color temperature and set the white balance. But if your scenery has high contrast between warm and cold colors, the camera will average them. The result may not be flattering for either of the image’s parts.
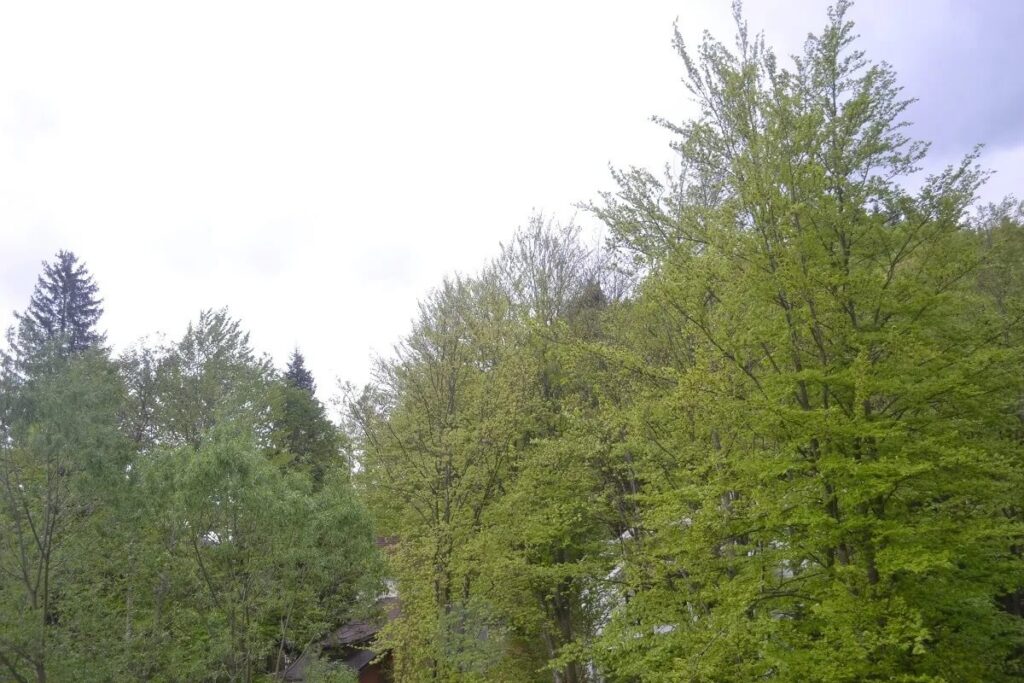
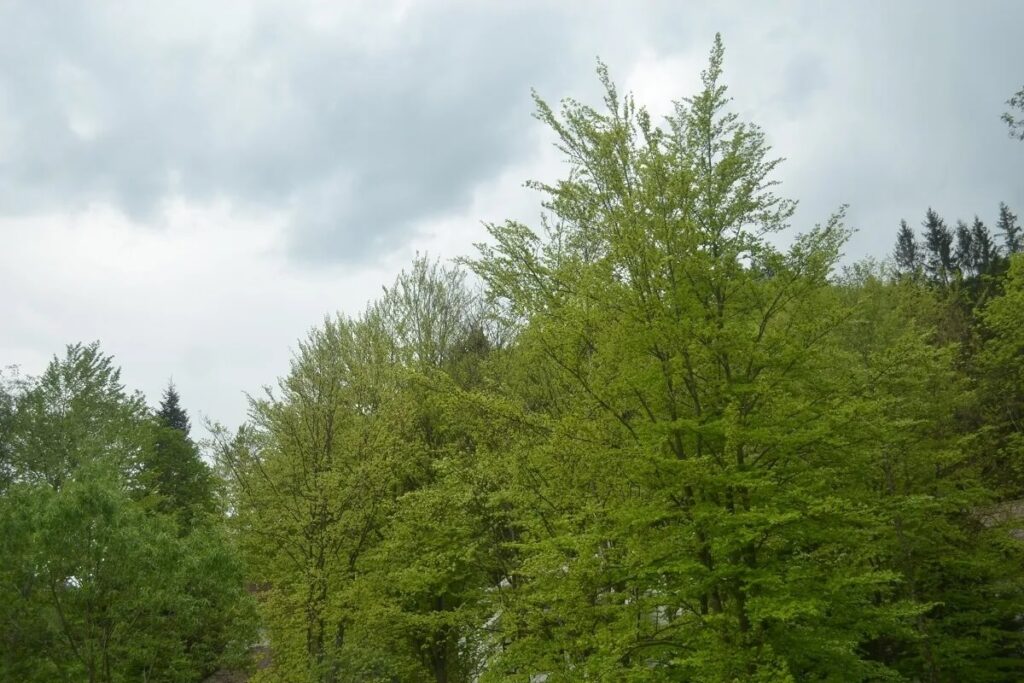
Auto white balance versus manual white balance
So, use auto white balance when the scene has good lighting, is mostly natural, and has no mixed color temperatures. In more complicated situations, make the decision yourself.
Adjusting White Balance in Post-Processing
We all want to achieve the perfect photographs in-camera, but it’s not always possible. The truth is most of our photos require post-processing. We shoot in RAW to ensure the camera records the tiniest details, leaving us room for editing. Although JPEG files take less card space and allow us to take more photos, they record only essential data. In this case, adjusting the white balance in post-processing is more difficult and affects image quality.
Regardless of your photo editor, you have multiple ways to adjust the white balance. For example, Lightroom offers white balance presets that resemble the ones in your camera and allow for quick fixes. Other photo editors, such as Mylio’s built-in photo tool, feature an Auto White Balance adjustment that fixes the white balance for you. However, like with the in-camera auto white balance setting, automatic and semi-automatic adjustments don’t necessarily represent your vision but the algorithms’. So, if you want precision and color accuracy, you should adjust the white balance manually.

The result of using the Auto White Balance tool
The easiest way to adjust the white balance in post-processing is to use a dedicated tool that allows you to reduce the orange or blue color cast using sliders. Usually, the tool also provides a Picker or Eye-Dropper that lets you select a pixel you know should be white. The editor then uses the reference white pixel to adjust the colors in the entire image.
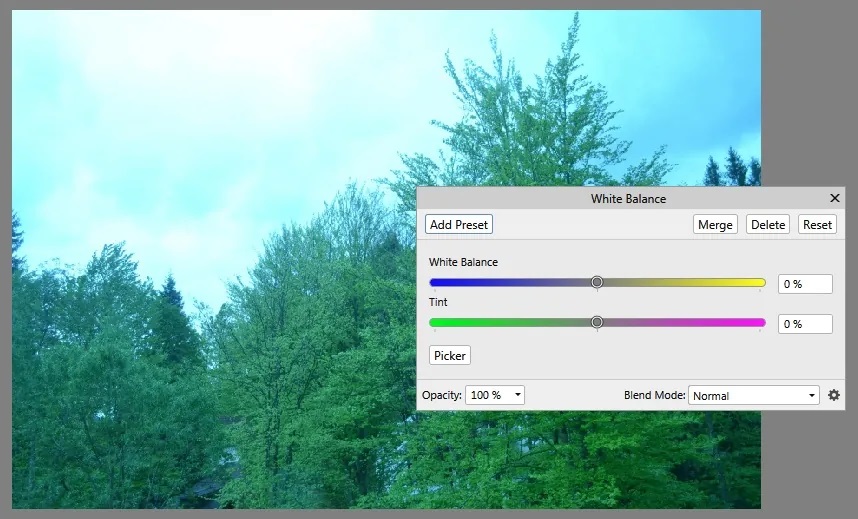
White Balance tool
Other post-processing tools for fixing white balance are Color Balance (allows you to change the color balance between cyan and red, magenta and green, and yellow and blue for highlights, midtones, and shadows) and Levels and Curves (allows you to adjust levels of red, green, and blue). Even a color filter that compensates for your photo’s color cast can be used to fix white balance. Just make sure you don’t overdo it. Remember, the goal is to achieve natural-looking colors.
The result of using the Curves tool
The excellent news about photo editing is that you can adjust the white balance only for a particular image area. For example, suppose you used in-camera auto white balance, and the image has bluish tones where it isn’t supposed to. In that case, you can separate the affected area and compensate for the blue color cast (e.g., retouch people’s skin tones in a photograph taken at sunset).
Conclusion
White balance is an essential setting that can make or break a photograph. Although post-processing corrections are possible, don’t rely on editing. Analyze the three characteristics of light – direction, intensity, and color – and set up the camera accordingly. When you don’t have time for manual settings, use the automatic features or available presets to speed up the workflow. Nonetheless, remain in control and press the shutter release button only when all settings are correctly set up.
FAQ
ISO is a camera setting that sets the camera’s sensitivity to light. The name stands for International Organization for Standardization, which defined the standard for analog photography in 1988.
Initially, ISO represented the film’s sensitivity to light, a property of the film. Digital sensors, however, can have more than one ISO value. At high ISO values, the sensor becomes more sensitive to light and thus creates brighter images. Most modern digital cameras provide an ISO range between 100 and 25600.
The correct white balance is the white balance that allows the camera to represent white objects as being white and, therefore, produce a realistic representation of the scenery. The correct white balance depends on the color temperature of the available light at the moment of shooting.
White balance is essential for color accuracy. Without a correct white balance, the subject of your photographs may look artificial (e.g., blue skin tones, yellow teeth, green food, etc.) or not resemble the original. When photo accuracy is essential, such as in portrait, nature, and product photography, the first setting the photographer needs to do is white balance.
If you use a digital camera, photograph and look at it on its LCD screen. Your white balance is off if you notice a yellow or blue tint. Even at the small scale of the camera’s screen, the image should look exactly like the scenery in front of you.