
The best approach for organizing images is a step-by-step approach. It’s when you start to rename digital files randomly that you end up getting overwhelmed.
As for how to organize printed photos, there’s more to it than simply throwing it into the first box that you can find. Printed photos can fade over time, but with the following photo storage ideas that won’t be a big concern.
How to Organize Digital Photos
Organizing your digital photos is usually easier than having to sort through paper copies. So, let’s start with the easiest first.
Step 1: Gather all your digital photo files into a single location
Most of us have more than one device for taking photos. Some of us still use a proper digital camera with an SD slot where our most recent photos will be stored. For most of us, our digital photo files will be found on our smartphones.
In addition to DLSRs and smartphones, here are some other places where digital photos might lurk:
- A PC’s hard drive
- A laptop’s hard drive
- A tablet
- An external hard drive
- CDs
- USB drives
- Additional SD memory cards
- Cloud storage drives
- Social media networks
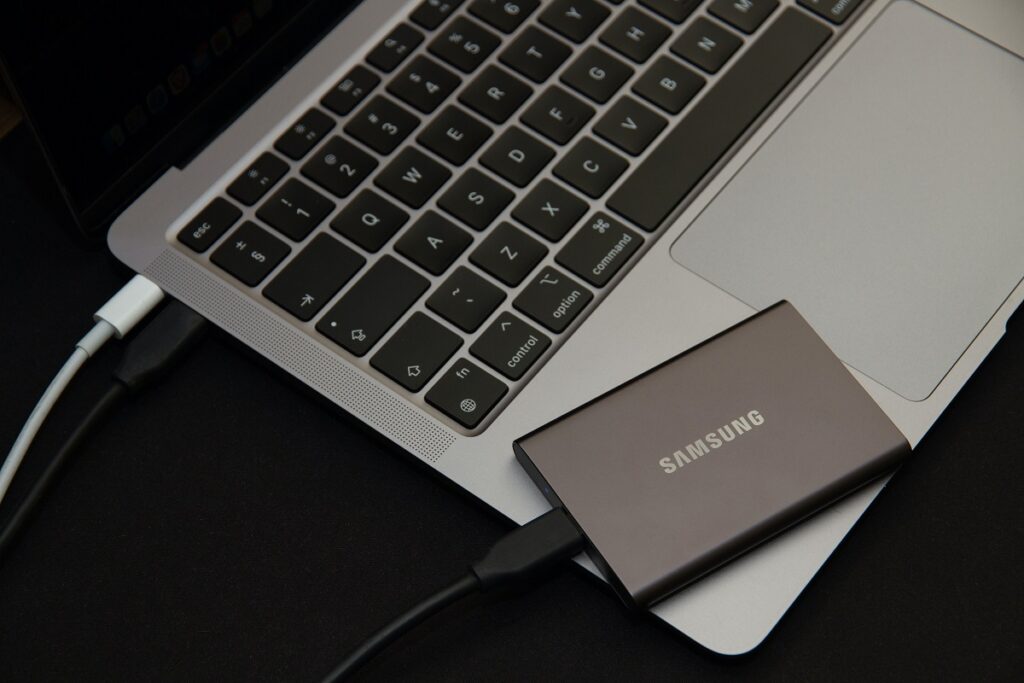
Check all these devices and storage solutions and move the files to one central location. If you don’t have enough space on your laptop or PC, buying an external hard drive or cloud drive that will be used exclusively for storing photos is best.
Step 2: Create new folders
Okay, so you’ve consolidated all your digital pics. You probably dumped them into a single folder.
One of the main perks of digital photography is that you can take as many photos as you want without worrying about the cost involved in developing them. The only worry is storage space — and what to do with all the duplicate and low-quality photos. Now is a good chance to delete duplicate and blurry photos. Doing this now will make it much easier to create individual file names, as you’ll have fewer photos to rename.
Next, you’ll want to create a system to make sense of all the madness. You’ll want to find a formula for naming your files and creating a folder structure. Popular methods are using a device (for example, tablet, DSLR, or camera phone), date (you’ll probably find the year is easiest and more than enough), or location.
When it comes to naming the individual files, the trick is that there should be a system, yet each file name should be unique. In other words, you can’t simply rename all the photos of Bruno, the family dog, to Bruno.
You’ll find that sequence numbers, underscores, and hyphens work best. Some software solutions have useful automation functionality to help you with this step.
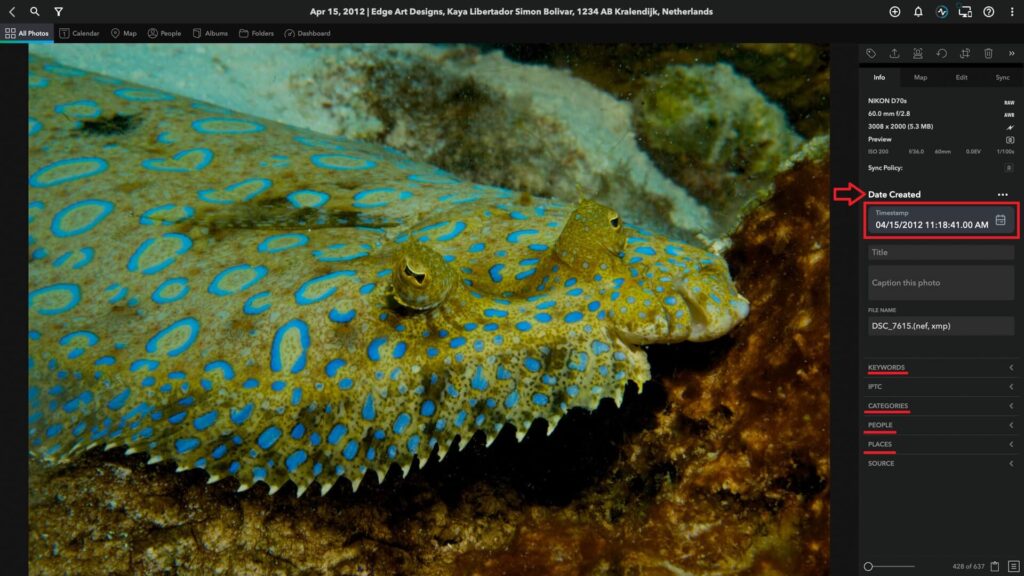
All in all, the best approach is to use the dates for organizing your digital pics. Unlike printed photos, where you’ll have to rely on memory to identify the date it was taken, many digital photos have EXIF data that include the date and time embedded in the file.
The best is to create folders for the individual years. You can then create subfolders for specific events within that year like graduation, honeymoon, Christmas, etc. If you have loads of photos, you can use the month as an extra criterion and then create subfolders within each month that are named after noteworthy events. When going this route, it’s best to use a numbering system instead of the month’s name or place the number in front of the name so that it gets sorted chronologically.
The secret is to find a naming system that works for you and then apply it consistently.
In addition to these folders, you might also want to create a folder for all your low-res pics or edited copies.
Moving forward, you’ll want to use the same system when you upload new pics. You’ll first want to rename the photo using your formula and then create folders and subfolders.
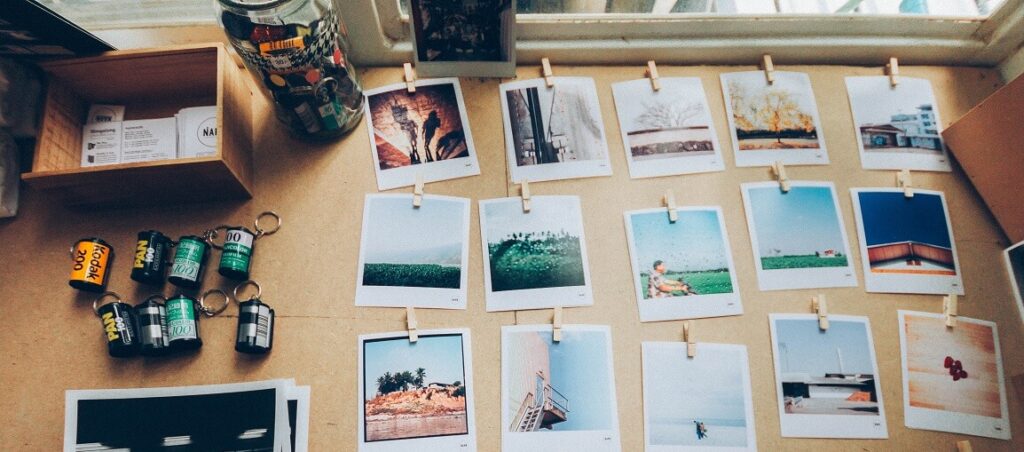
How to Organize Printed Photos
Organizing printed images is slightly more challenging. Much of this process will need to be completed manually, plus you’ll also need to take greater care not to damage the copies.
Step 1: Plan
Before organizing your printed photos, you must identify your why. You need to work with a goal in mind.
Perhaps it’s because you’re running out of space and must free up a drawer. Maybe you have a big birthday looming?
For example, if you’re on a mission to declutter, you might have to throw out some of the blurry pics. On the other hand, if you want to create a photo montage for a birthday celebration, you’ll organize your photos differently.
Step 2: Get all your printed photos
Depending on your current “filing system,” the next step can be very time-consuming. However, if you take the time at the beginning first to gather all your photos, the rest of the process will be much easier. Think of it like building a puzzle. First, you must ensure that all the puzzle pieces are facing the right side up.
Decide on a place where you’ll work. If you don’t have a spare bedroom or unoccupied home office, your second best bet is to turn your dining room table into a workstation for a few days.
Aside from the obvious place — photo albums, there are various places all over your home where you might have stored a random photo or two. The following are some of the popular places where people keep their photos. Make sure to check all these places.
- Dresser drawers
- Memory boxes
- Framed pictures
- Scrapbooks
- Under beds
- Wallets
- In files
- On the refrigerator
- Wardrobes
- Cardboard boxes on shelves
- Envelopes
- A safe
It can also be a good idea to check at the office. If some of your children have moved out of the house, use this as a reason to give them a phone call and double-check if they might have any precious pics.
Step 3: Buy the right tools
You’ll basically only need a good software solution for organizing digital photos. Handling digital photos also requires less care as they can’t smudge, tear, or get water damaged. Plus, it’s much easier to duplicate a digital pic.
On the other hand, printed photos have to be handled with a lot of care. There’s a good chance that the negatives are long gone, meaning that should something happen to it, you won’t be able to print a new copy.
As such, buying the right equipment to help with handling and storing is a worthwhile investment. After all, your photo memories are priceless.
Let’s start with the container. It might come as a surprise but a plastic storage container isn’t a good choice. It’s prone to trapping moisture which can lead to irreversible water damage.
Instead, invest in an archival photo storage box. It’s made from paper that’s free from acid and lignin and won’t break down over time. Plus, not only will it keep it safe from moisture, but also other harmful elements like light and chemicals:

In addition to the right storage box, you’ll also want to have stationery for adding notes. You can, for example, use a photo-safe pencil or sticky notes.
If you’ve been storing your photos in a photo album and want to remove them and any adhesive residue, household staples like dental floss and a blowdryer will come in handy. The dental floss can be used to loosen the photo gently from the backing. Then, to remove any residue glue, turn on your blow dryer to a low-heat setting and slowly move it over the glue area. Alternatively, you can buy a commercial product used to remove glue residue. Just double-check to see that it’s safe to be used on photo paper.
Step 4: Get organizing
Now, the fun part can finally start. It’s time to start organizing all the photos that you’ve gathered.
Think back to the goal you’ve identified — why you’re tackling this project — and let that guide you.
For most, it makes the most sense to organize it chronologically.
The challenge, though, is when the dates are missing. That said, it doesn’t have to be 100% correct.
If you honestly have no idea what was taken when and timelines are a big blur, an alternative is to organize it around a theme. You can, for example, choose to dedicate a photo album or box just to one family member. Other ideas for sorting include hobbies like sporting events or milestones like birthdays, weddings, or family holidays.
Even if your goal wasn’t necessarily to win back space, now is the perfect opportunity to eliminate low-quality photos. You know, those where someone’s head got chopped off or those photos that are out of focus. If you have a number of the same shot, pick the best ones and say goodbye to the others.
To help ensure that your photo memories remain safe and secure for years for the next generations, it’s also a good idea to take the extra step and digitize your photos. Essentially, you want to make backup copies of your pics.
Just make sure that the format you choose will still be accessible years down the line. Very few computers still have a CD drive. USB ports are also becoming less popular. As such, it’s best to use cloud storage.
If you still have the negatives of the photos, keep these with the set photos. As an extra safety precaution, it can also be a good idea to scan these in and label them accordingly.
Frequently Asked Questions
One of the best ways to organize your photos on your iPhone is to use the Albums feature. To create a new album, you open the Photos app. Select the Albums tab and click on the Add button (+). You’ll be prompted to create a name for your album. Then, to add photos to specific albums, you only need to tap on the photos you want to add. After selecting the photos, tap the Share button (it looks like a block with an arrow pointing up), tap Add to Album, and select the album.
The short answer is that you can use any smartphone, tablet, personal computer, or notebook. As for which software to use, one of the best software solutions is Mylio because of its user-friendliness. It’s easy to use, but if you should get stuck, you can check out its extensive library with video tutorials. What’s more, it’s available free of charge.