
Are you someone who takes dozens of photos every day? It is a real struggle to find the photos you need fast because there are so many of them on your Mac. Well, smart organizing photos on your Mac is essential for easy retrieval and management. In this article, we will talk about handy steps you can follow to organize your photos effectively and find them faster when you need them.
How to organize photos on Mac using a Photos app?
In this part of the article, we will talk about the features it offers and how you can benefit from them.
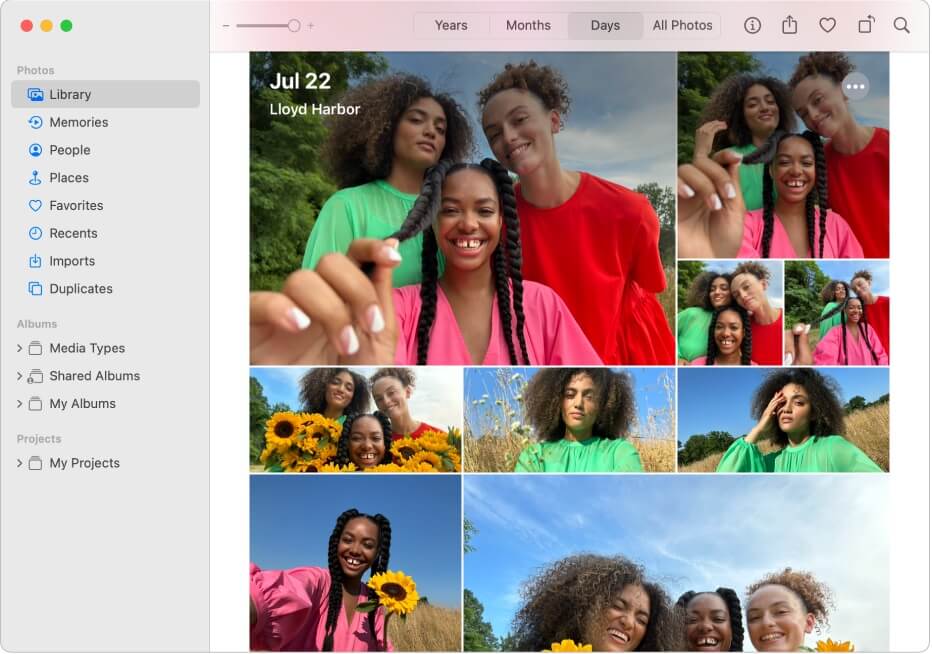
So, open the app and find “Library” in the menu on the left side. It contains all the media files imported into your Photos app. You can sort and view your media files in Years, Months, or Days format. It is important to sync your Mac’s Photos app with your iCloud account to see all the photos and videos you have taken.
To import media files into the Library, do as follows:
- Click File
- Opt for Import
- Choose the required files
Now, the necessary files should be successfully imported into the app’s Library.
Switch Your Photo Library
You may find that some of the pictures or videos you took are automatically stored not in the app’s Library but in a different library somewhere on your Mac laptop. To store all your media files in the app’s, complete these steps:
- Open Finder
- Opt for Applications
- Click Option
- Choose a Photo Library. You might see the default library and any other libraries you have created or used before. Click on the library you want to switch to or select “Other Library” if the library you want is not listed.
Note that the Photos app can only have one library open at a time. Each library is a separate collection of photos with its own settings, albums, and organization.
Group by People & Places
The Photos app on your Mac also allows you to sort media files by People and Places. To Group by People, follow these steps:
- Launch the Photos app.
- Proceed to the People Album.
- Click on Albums and Select People.
- The People album displays faces that the Photos app has recognized. Click on a face to see all the photos associated with that person. If a face is recognized but not named, click Add Name and type in the person’s name. The app may ask you to confirm or reject its suggestions for a person’s face.
For Grouping by Places, follow these recommendations:
- Launch the Photos app.
- Proceed to the Places Album.
- The Places album displays a map with pins indicating where your photos were taken. You can also use the Map by zooming in and out of the map to explore different locations, or you can add location information manually.
The People and Places feature in the Photos app is extremely helpful for photographers, especially if you like landscape and portrait photography.
Get Creative With Memories
You should certainly explore the Memories feature in the Photos app on your Mac, as it is capable of creating collections of photos and videos with music based on specific events, locations, and people. Find the Memories feature under the Library and see what you can do with it:
- The Memories feature displays automatically created collections like trips, events, or significant periods of time.
- You can edit Memories by clicking Show More and changing their titles, durations, music, etc.
- Click the heart icon on your favorite Memory so it will appear on top of the tap in the future.
- The Hide Memories feature allows you to make a particular Memory not visible, yet it will not be deleted.
- The Create Memory feature allows the app’s users to customize their own Memory Movies using the photos, videos, and music they choose.
- You can easily Share a Memory via email or social media.
The Memory feature may not be useful for professional photographers, but it certainly will put a smile on your face, reminding you of beautiful moments.
Manage Your Albums
If you want to organize and categorize your photos more effectively, the Managing albums feature unfolds more opportunities.
- Create an Album
- Launch the Photos app.
- Select the photos you want to add to the new album.
- Right-click on the selected photos and choose Add to the New Album.
- Adding Photos to an Existing Album
- Launch the Photos app.
- Select the photos you want to add to an existing album.
- Right-click the selected photos and choose Add to then Existing Album Name].
- Deleting Photos from an Album
- Launch the Photos app.
- Click the “Albums” tab on the sidebar and select the album you want to edit.
- Select the photos you want to remove from the album.
- If you want to remove all media files from the particular album in one go, right-click and choose Remove from Album.
- Create Shared Albums
- Launch the Photos app.
- Click + next to Shared Albums to create a new one.
- Enter the name of a new Shared Album.
- Add files.
- Now you can Invite People from the list.
- Reorder Photos in an Album
- Launch the Photos app.
- Click on the “Albums” tab and select the album you want to reorder.
- Drag and drop photos to reorder them.
Creating and adding new albums, deleting those that you no longer need, or reordering photos in already existing albums will keep things smarter.
Manage Your Photo Catalog in a New Folder
To easily access your media files, you can create a dedicated folder on your computer or laptop. You may find that a folder offers a better structure so that you can find the necessary files faster. Here are some of the features that might be handy.
- Create a new folder
- Choose the desired location for your new folder, whether on your desktop or within your Pictures folder.
- Name it.
- Transfer photos to the new folder
- Open the new folder.
- Select the photos you want to include in it
- Drag and drop the selected photos.
- Organize photos by date or event
- Create subfolders by dates and occasions, like “2024” or “Christmas”.
- Transfer corresponding photos to new subfolders using the advice above.
You should back up your new folders to prevent data loss with the help of Google Drive or Cloud Storage. Software like Adobe Lightroom, Google Photos, or Apple Photos will securely save your files and allow you to use all the above-mentioned tools plus edition. However, you will need to buy extra space when you reach a limit.
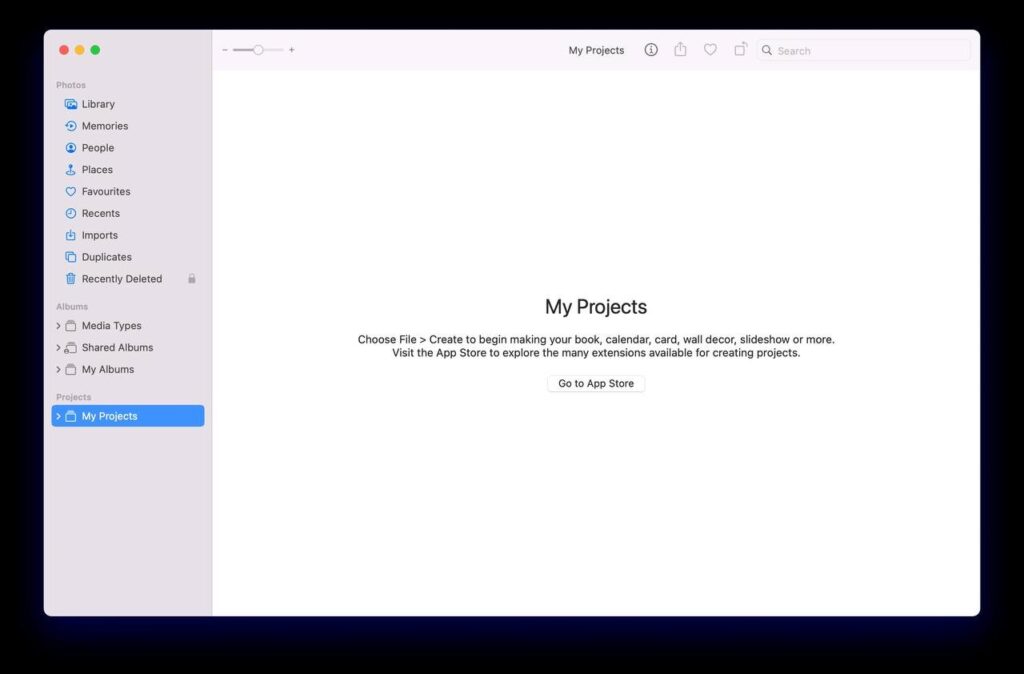
Create New Projects
Mac’s Photos app is perfect for creative minds and your own projects. Head to the app, click Prejects, then My Projects, and see templates for Books, Calendars, Cards, and Wall Decor. At the bottom of the list, you should see Prints – the feature that actually allows you to print your project and order it to your address. These are the steps for creating a new project within the built-in Mac’s Photos app:
- Launch the app.
- Opt for + on the sidebar.
- Choose Slideshow, then Photos.
- Name for Slideshow.
- Select media files, then click Add.
- Choose the desired Themes, Music, and slideshow payback Duration. You can also change the Speed of your slideshow.
You can preview your project before saving it and ordering a print.
Sync Your Photos Through iCloud
If you want to access your media files and all your Apple devices, you need to sync. First, you need to set up an iCloud account and then store all your photos on it. This is how it can be done:
- Head to Photos.
- Click Preferences.
- Proceed to the iCloud tab.
- Set up an iCloud account.
- Open Finder.
- Choose Apple ID.
- Select iCloud.
- Mark Photos and iCloud Drive.
When using your iPhone, you have the option to optimize storage so the version of photos on your mobile device is smaller. The full-resolution photos will be stored in iCloud.
Note that it can take some time to sync. It depends on the number of media files you have. Also, you may not have enough storage in iCloud. Initially, all users get 5 GB of free storage, but if you need more, subscribe to a higher storage plan.
Best folder structure for photos
The best folder management for photos actually depends on your personal preferences, the number of files you have, and how you like to organize them. Here are a few ideas on how you can manage your media files effectively:
- Main photo folder – the folder with all your pictures.
- Year-based subfolders – organize your photos based on the year.
- Event-based subfolders – create subfolders for every event, like Christmas, New Year, Summer Vacation, Wedding, etc.
- Topic subfolders – organize your images by topic, for example, macro, landscape, and portraits.
These are just a few ideas of how you can structure your photos and access them without being confused and looking for particular files for hours. Find the structure that suits your workflow.
One of the best ways to organize your and your family photos
Keeping memories alive is what every family does. If you are someone who loves to take photos of your family often and have a bunch of unorganized files, here are a few tips to help you store and find special moments easily:
- Create a main photo folder on your device or in the app and call it Family Photos.
- Create subfolders by year, each containing another subfolder with names of events. For example, a subfolder 2021 contains the following subfolders: Christmas, Anniversary, Graduation, etc.
- If you use a Photos app on your Mac, do not skip such features as People Tagging and Keyword Tagging. The first one will help you to find photos of your family members easily. The second will allow you to find all related pictures to, let’s say, “wedding,” “hiking,” “sea,” etc.
Over the years, you can find that you have too many photos: some may be blurred, or you can find duplicates. Perform regular checkups and delete images that are no longer relevant. This will provide you with more storage and help you avoid buying more space.
Other popular apps for organizing media on Mac
There are quite a few impressive photos apps that provide advanced organizational features and editing capabilities if you do not want to use a built-in Mac app. It is only a matter of choosing the one that you like using. Every photos app offers features that basically do hard work for you:
- Has built-in organization tools.
- Utilizes albums to group photos by theme, event, or person.
- Uses the “Faces” feature to tag people in your photos.
See! You do not need to do a lot of manual work. Some of the good apps that we came across are Mylio Photos, Google Photos, and Adobe Lightroom, each having all the above-listed features.

Mylio: smooth app that you will love
If you want to organize your pictures on your Mac more efficiently, give Mylio a go. It is a free app that automatically imports files from your smartphone or tablet and allows you to share them with your friends, family or colleagues. Mylio provides a convenient library, making it easy for you to find and access media files. Importing media files is simple: from your hard drive, camera or USB memory card, scanner, phone or tablet. The surprises are not finished here. The app can connect to social media as well as photo sharing sites and import everything you have already shared. You can also post via the app.
Quick tutorial on organizing photos on Mylio:
- Install Mylio Photos on your Mac.
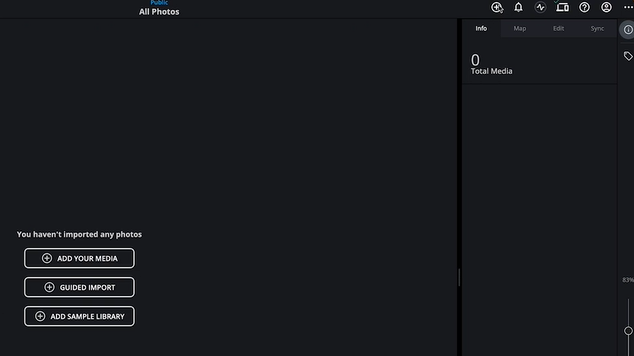
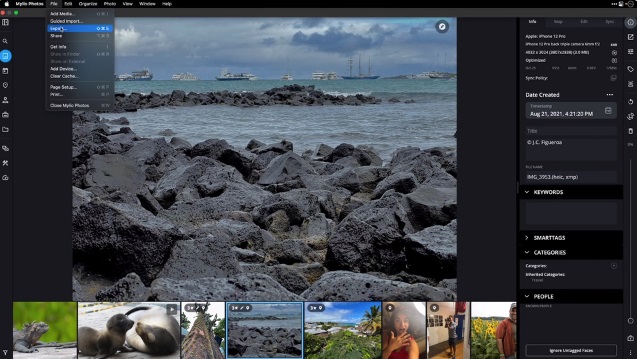
- Add photos, video and other files to your Mylio library. CFnd an icon “+” in the top right corner, then choose “guide import”, now follow instructions on the screen to add media to your Mylio library.
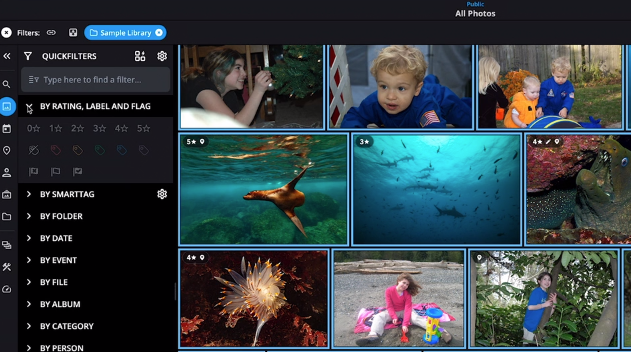
- Use dynamic search and quickfilters to find your favorite photos and videos faster. After transferring the necessary media files from your hardware or device to the library, click “all photos”. Here you can review files by year, rating, label, flag, by event, by album, etc.
- Mylio also allows you to edit photos to enhance their quality. Make edits to change color, exposure and details, crop photos to change composition and size.
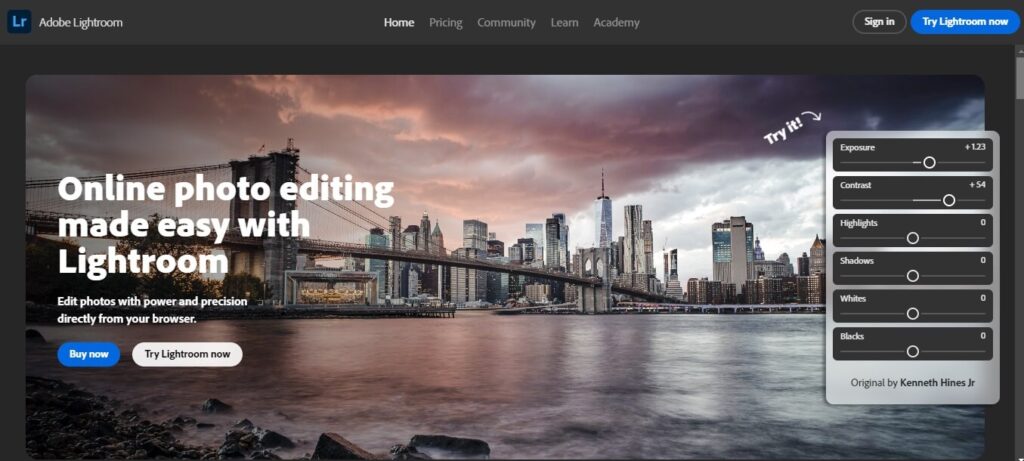
Adobe Lightroom and its great features
We decided to use Adobe Lightroom to demonstrate how to start organizing your media files with ease. Please check this guide below.
- Install the Adobe Lightroom app by downloading it from the Adobe website or the Mac App Store.
- Open Lightroom and create a new catalog or use an existing one. Then click on the “Import” button to bring your photos into the catalog. Now select the photos you want to import, choose the destination folder, and configure import settings.
- You can create collections based on events, themes, etc. Drag and drop photos into collections for easy access.
- If you wish, add keywords for better searchability. If you have an extensive photo library, this feature will save you much time.
- Use the rating and flagging features to identify your best photos or those that need further attention.
- Lightroom photo app has powerful editing tools. Explore the “Develop” module to adjust exposure, colors, and more. Notice that changes made in the Lightroom app are non-destructive, which means your original photos remain unchanged.
- Now, you can sync your Lightroom catalog across multiple devices. You will need a subscription to Adobe Creative Cloud to do so.
- The app also has an export feature, so you can share them on social media when you are happy with your edits.
If you decide to use Photos App for organizing images on your Mac, do not forget to regularly back up your catalog to prevent data loss.
FAQ:
The first simple method that you can use to manually Drag and Drop necessary files. Open the Finder, find the Destination Folder, and Navigate to the location where you want to create or use an existing folder to store your photos. In another Finder window, navigate to where your photos are stored. Hold the left mouse button or use the trackpad to select the necessary photos, drag them to the destination folder, and drop them directly onto it. If using the Photos app on your Mac, then start with launching the app. Select the photos you want to import and drag the selected photos into the app window. Your files should be imported.
Actually, both albums and folders are organizational tools. However, they have different purposes. An album stores media files based on a specific theme or event. Users can create new albums and share them with other people. A folder in Mac photos is supposed to have subfolders for better organization. One folder can store a few albums. Use a folder for structured hierarchy. For example, the main folder named “Family”, then a subfolder with years 2011, 2015, and 2024, then subfolders in each containing events like New Year’s Eve, Anniversary, Hiking, etc. Each folder should unfold another folder, helping you structure your memories.