Photography isn’t just about pressing a shutter. It’s about choices—what we capture, how we store it, how we shape it over time. For those who care deeply about their visual history, these choices tend to converge into one of two paths: that of the Collector and that of the Curator.
Both are thoughtful.
Both are technical.
But their philosophies diverge at the moment of capture—and everything that happens after.
The Collector
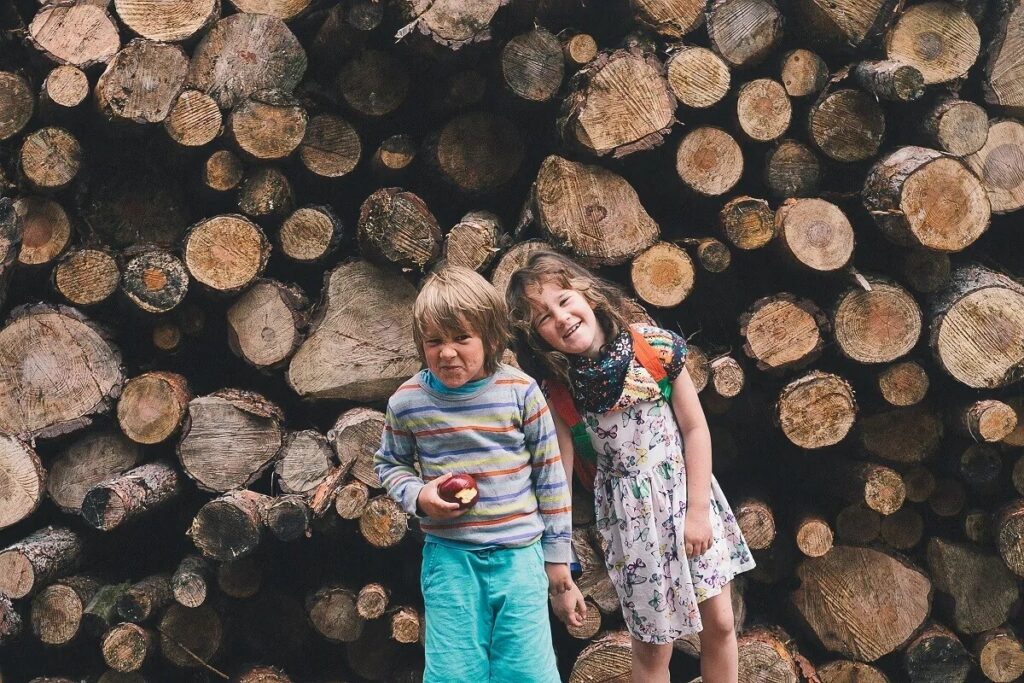
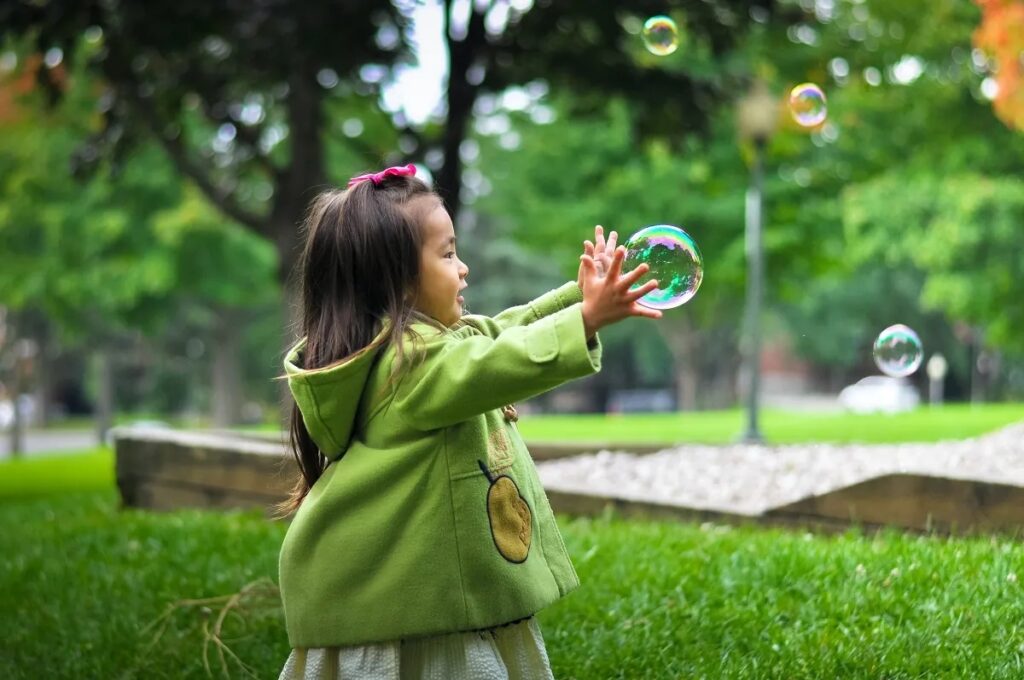
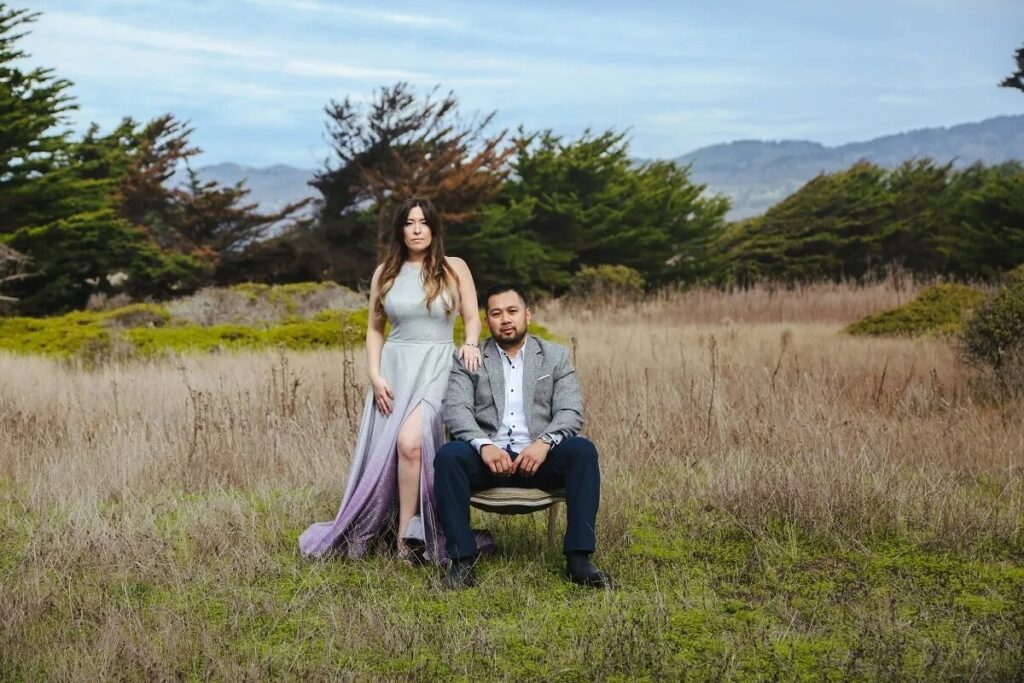
The Collector is driven by the instinct to preserve everything of possible value. They are the family documentarian, the traveler who returns with 4,000 images, the parent who knows exactly where every photo of every science fair lives—somewhere.

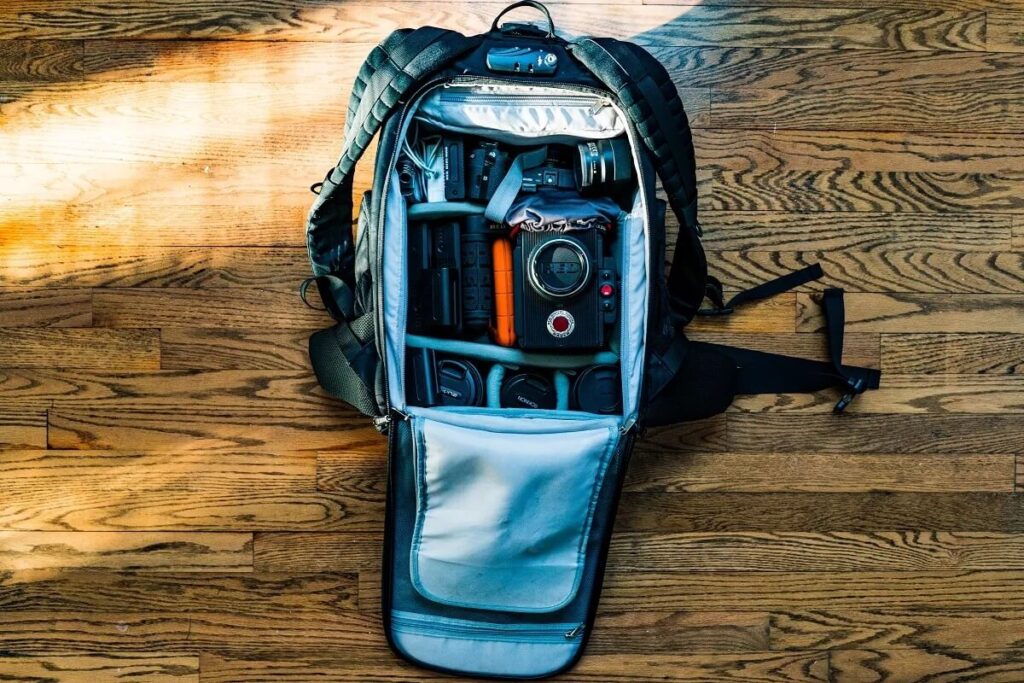
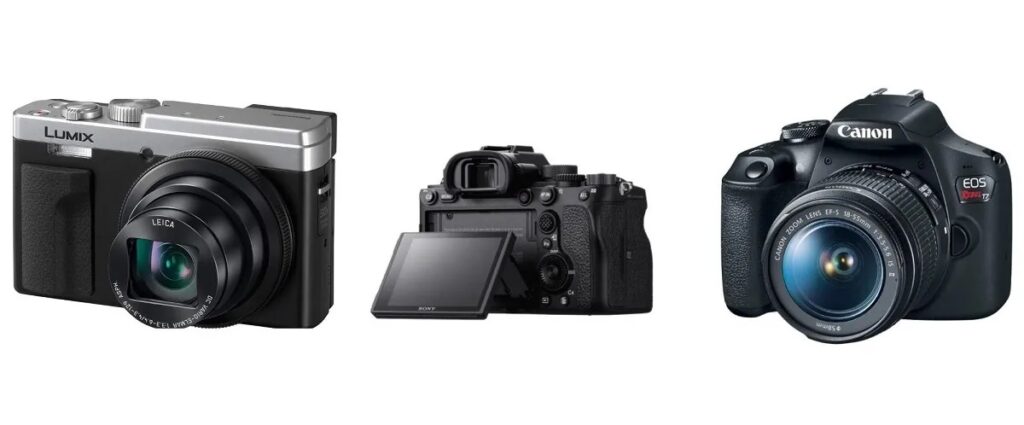
Their gear might range from a high-end phone to a mirrorless camera, but their real focus is the act of capturing. They shoot with intention: wide, close, safety shot, backup. They bracket exposures. They document environments, faces, objects, moods—anything that might, later, matter.
For them, technology is a partner in scale. They rely on automation: Wi-Fi transfers, cloud syncing, batch imports, and auto-backups. Their confidence comes not from what they’ve already organized, but from what they’ve made sure is safe. They’re running a time capsule in real time.
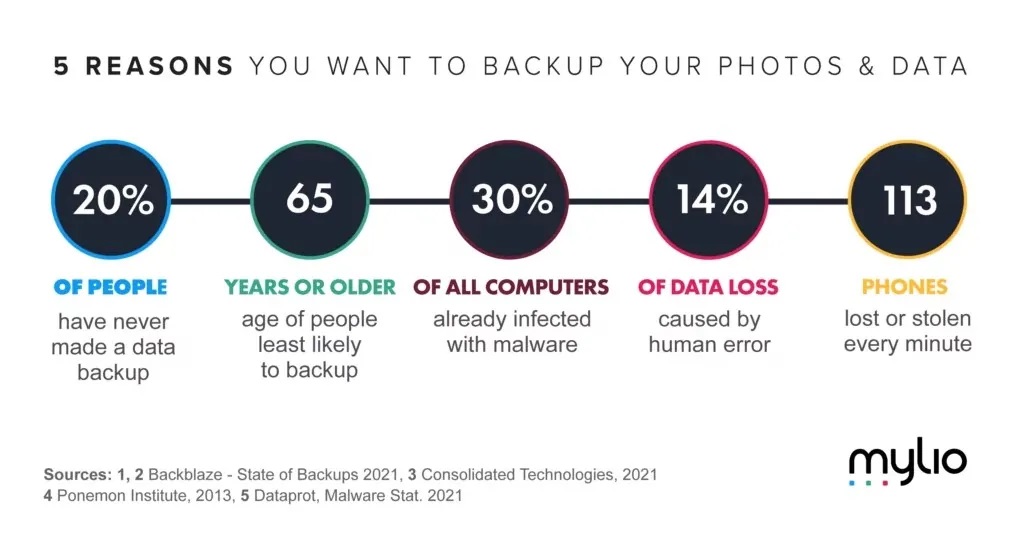
Loss is their enemy. They’ve seen the heartbreak of digital rot—corrupted drives, dead phones, and cloud subscriptions that lapsed. Their systems often include redundant storage, offline drives, and “just in case” archives spread across formats.
But don’t mistake them for reckless hoarders. Their strategy is about potential. They keep it because they might need it. It’s a kind of faith in the future: that somewhere, someday, someone will want to revisit this moment—and it will be there.
The Curator works differently.
For them, photography isn’t complete until the images are sorted, named, and placed within a meaningful context. They manage sprawling collections of family photos, digitized prints, old slides, and forgotten CDs. They treat a photo library like a library, with a clear sense of responsibility.
They may not shoot as much, but when they do, it’s with purpose. They think ahead: “Where will this image live? Who will it matter to? How will it be found?” Their real skill is post-capture. They craft timelines. They tag generations. They reconstruct fragmented narratives.
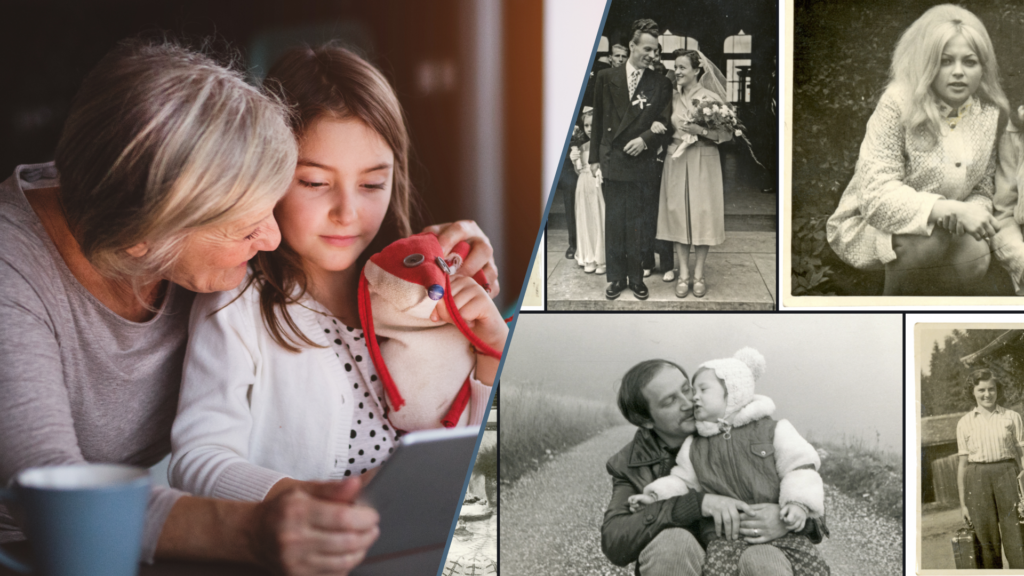
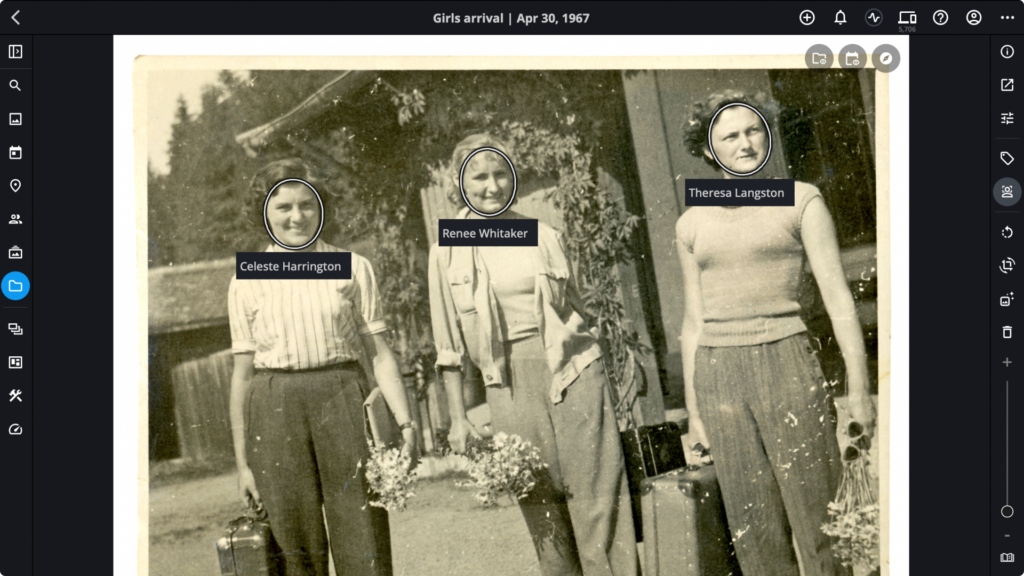
When a Curator inherits boxes of photos from a relative, they don’t panic. They start scanning. They edit with care. They study details. A background landmark, a date on a t-shirt, a handwritten note on the back of a photo—each clue helps rebuild forgotten context.
Their tools are different: metadata editors, facial recognition, and archival scanners. They value precision. Albums are often named after events, locations, or themes. Photos are captioned. Stories emerge not by chance, but by effort.
For the Curator, the reward is clarity. They don’t keep everything. They keep what matters most—and make sure it can be found again.
These two types handle moments differently.
When a child is born, the Collector fills a hard drive in the first six months. Every giggle, bath time, and grandparent visit—preserved. The Curator steps in later, builds a timeline, adds names, and filters the noise to create a signal.
When someone passes away, the Collector has the archives. The Curator builds the tribute.
At a family gathering, the Collector sets up a shared folder. Everyone dumps in photos. The Curator later sorts it into albums by day, tags everyone’s faces, and renames files from IMG_4028 to “Reunion_2022_Aunt_Marta_Singing.jpg.”
One captures history. The other gives it form.
Of course, these aren’t exclusive roles. Many people live in both modes.
You might shoot like a Collector on vacation—and curate like an archivist when building your child’s school-year album. You might back up every photo you’ve ever taken, but only curate the ones that carry emotional weight.
The key isn’t the label. It’s the intentionality behind the practice. Both approaches demand skill. Both require discipline. Both are acts of care. Collectors ensure the raw material of memory is captured and kept. Curators ensure those memories can be retrieved, understood, and shared.
Together, they form the full spectrum of photo stewardship. One makes sure nothing is lost. The other makes sure what’s kept means something. And in an age where photos are both ephemeral and essential, that work—the work of Collectors and Curators alike—couldn’t be more important.