There’s something genuinely magical about old photographs. If you’ve got boxes of these cherished memories gathering dust, it’s time to bring them back to life. Here’s a friendly guide to help you date and preserve your precious photographs, ensuring they’re enjoyed for generations.
Step 1: A Journey Through Touch and Sight.
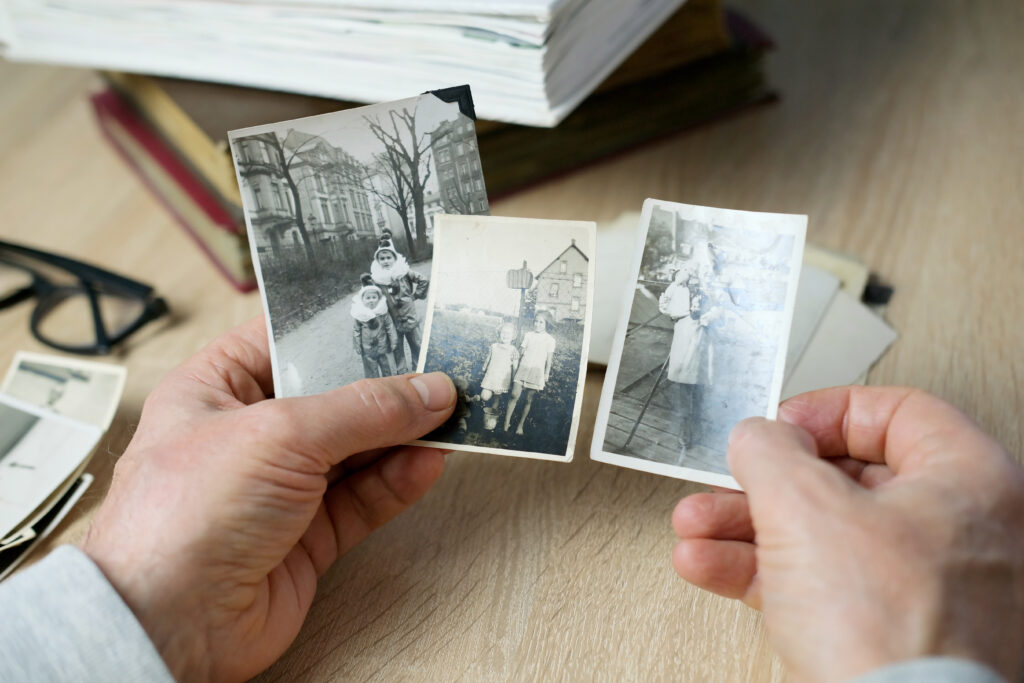
Photo Paper and Format: Feel the edges of the photos. Those scalloped edges are a charming signature of the 1940s and 1950s. Sepia tones? These date back to the late 19th or early 20th centuries. And those glossy color prints? They’re likely from the vibrant 1960s and beyond.
Step 2: Fashion, Cars, and Backgrounds – Decoding the Era.
Next, let’s see what the photos themselves can tell us.
Fashion and Hairstyles: Styles change with the times. Men in zoot suits and women with victory rolls point to the spirited 1940s. Bell bottoms and tie-dye shirts? We’re definitely in the groovy 1970s.
Vehicles and Technology: Spot a classic Volkswagen Beetle? That’s a clue for the 1960s or 1970s. Recognizable landmarks under construction, like the Eiffel Tower, can also help establish a timeframe.
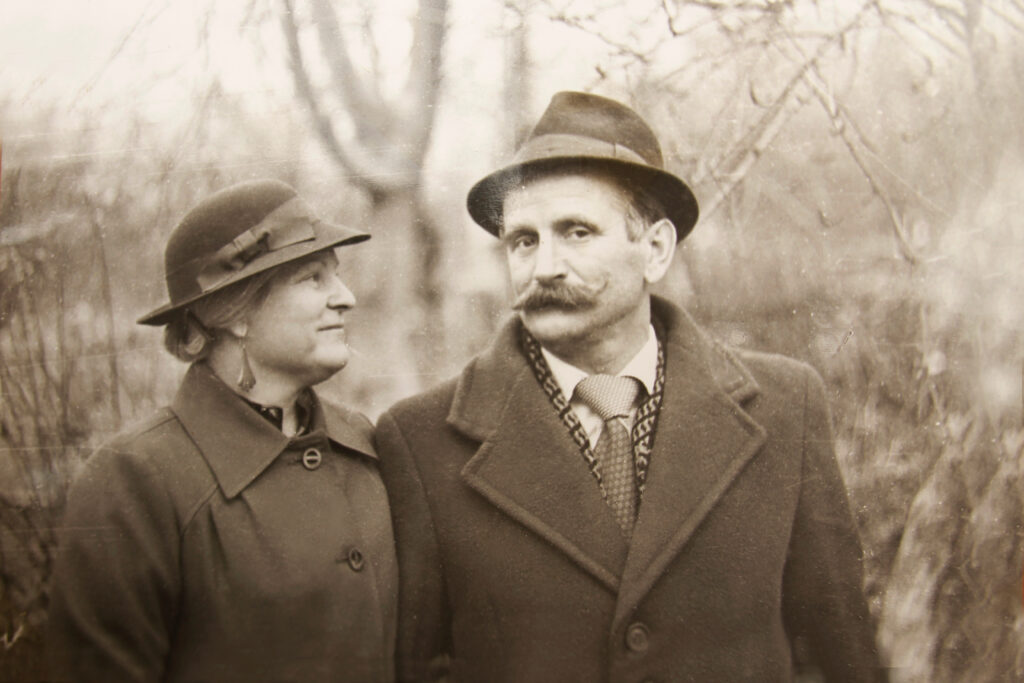
Handlebar Mustache: The man’s handlebar mustache was particularly popular in the late 19th and early 20th centuries. This style was commonly seen in the 1900s to the 1930s.
Step 3: The Family Detective Agency.
Sometimes, the best clues come from the people who lived the history.
Ask Relatives: Dust off those photos and gather the family. Someone might exclaim, “That’s Aunt Sarah’s wedding in 1965!” These shared stories are gold mines for dating photos.
Family Histories and Documents: Compare your photos with old diaries or letters. A note about a “Trip to Yellowstone in July 1952” can match perfectly with the snapshots in your hands.

Step 4: Details Tell the Story.
Events and Celebrations: Holiday decorations or a specific toy, like a Cabbage Patch Kid, can date a photo to the early 1980s.
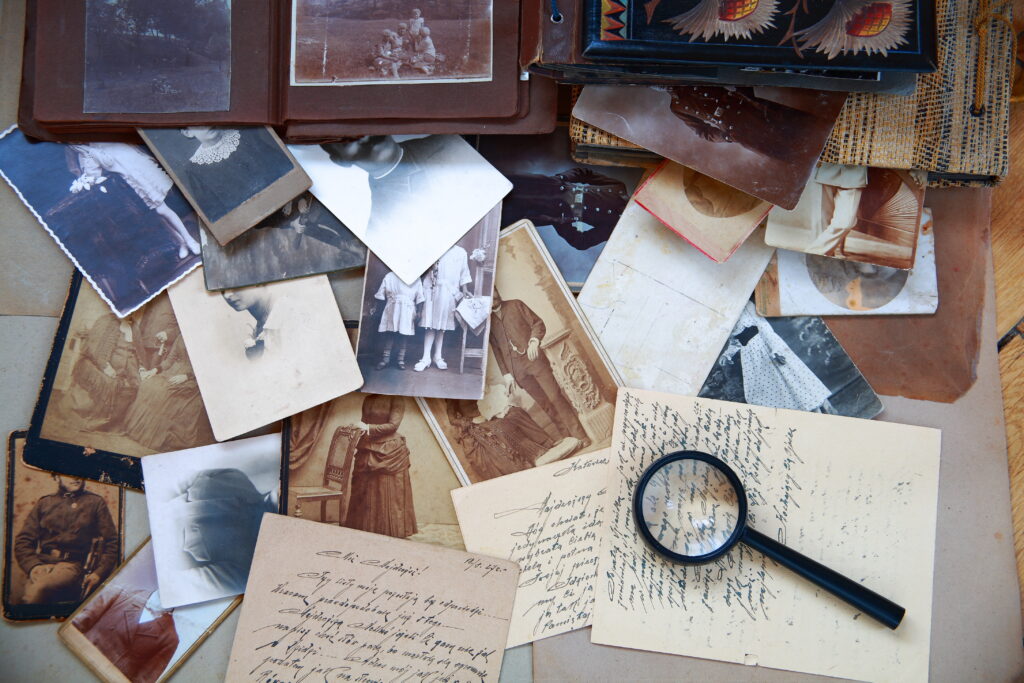
Written Notes: Flip those photos over. Handwritten notes or developer stamps can be your time machine.
Step 5: Consider Expert Help.
If you’re overwhelmed, a professional photo manager can be invaluable. These experts have worked with countless photos and can offer insights and assistance that make the process smoother.
Expertise in Identification: Professionals have extensive experience in dating and preserving photos. Their knowledge can help you accurately date your collection.
Efficiency and Quality: A professional can complete the project more quickly and efficiently, ensuring high-quality results. They know how to avoid common pitfalls like scanning at a resolution that is too low or failing to back up files correctly.
Guidance and Support: A photo manager can guide you through the process, offering support and solutions tailored to your needs.
Sometimes, a little expert help can go a long way.