
Digitizing old family photos can be a fulfilling but challenging task. This article offers practical tips to help you achieve the best results while preserving your precious memories.
Photo Scanning Preparation
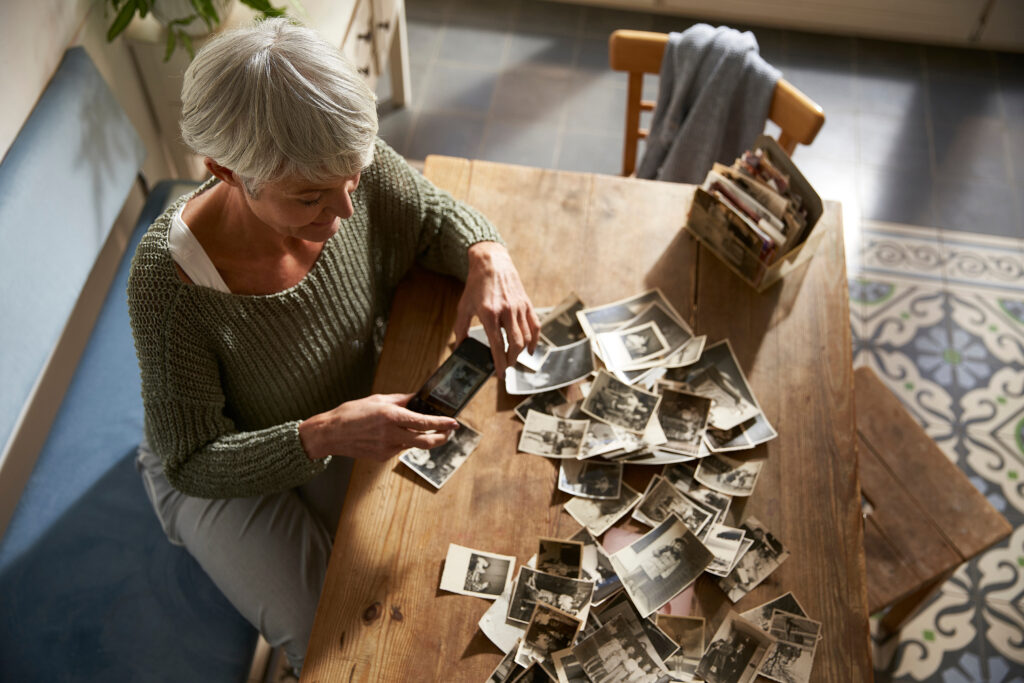
Before you start scanning, organize your photos. Gather all your photos and get an extra empty box. Group similar photos together. If your family kept photos in original envelopes with notes like “Florida vacation 1982,” keep these together for context. A DIG YOUR PHOTOS! kit from Sunflower Photo Solutions will give you all the tools and guidelines to organize analog photos faster.
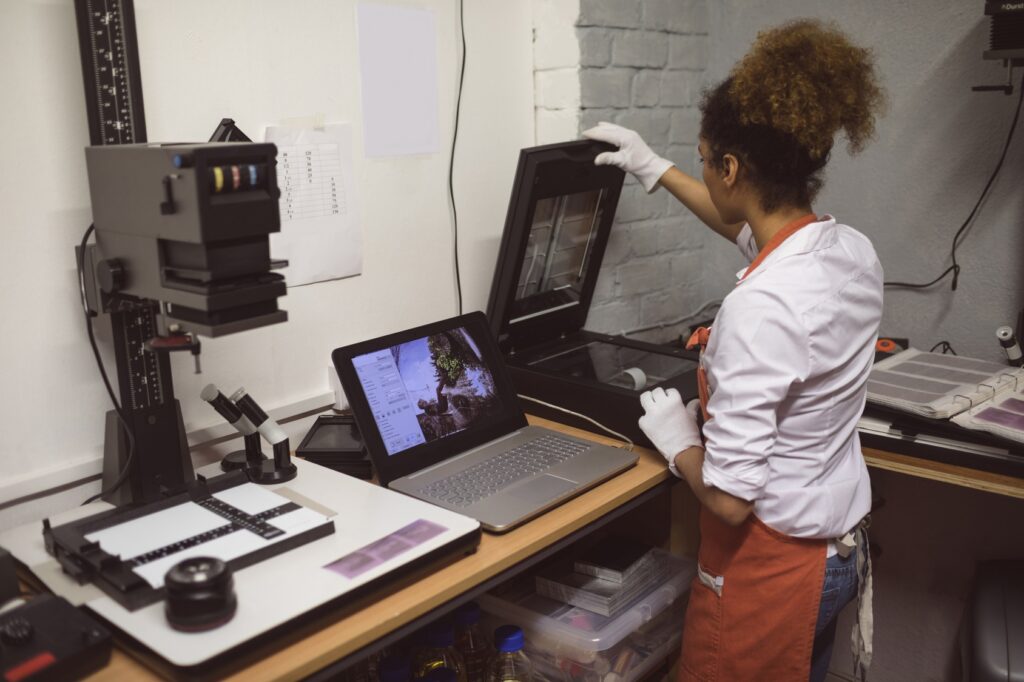
Negatives and old photos require careful handling. Even clean fingers can leave smudges and oils. Wash your hands thoroughly and consider using white gloves at photo supply stores. These gloves protect your photos and negatives from damage.
Setting Up for Scanning
Before scanning, you can sort your photos using their original packaging. Film companies often changed envelope designs, making identifying pictures from different decades easier. Group envelopes with similar designs together to ensure chronological order.
Be selective about what you scan. Scanning every photo can be overwhelming and unnecessary. Start with a few envelopes from the same period. If you have both prints and negatives, prioritize scanning the negatives for better quality. Use prints as references, especially if they have contextual notes on the back.

The Scanning Process
You have several options for scanning your photos. You can use apps like Photomyne or a scanner like the Epson FastFoto. Another option is to work with a full-service scanning company like ScanMyPhotos. If you choose ScanMyPhotos, enter the code “Mylio” at checkout for an additional discount.
Hundreds of Family History Centers managed by FamilySearch.org across the USA offer free photo scanning services. You can also hire a professional photo manager to guide you through the project from start to finish.
Each approach has its pros and cons. While it might be tempting to scan everything yourself, working with a professional photo organizer can help you avoid common mistakes. Even a few hours with a pro can save you days or months of work.
If you plan on scanning photos yourself, choose the proper settings. The resolution of your scans, measured in dots per inch (DPI), affects clarity and detail. While 72 DPI is standard for digital displays, it’s inadequate for printing. Aim for at least 200 DPI for prints, with 300 DPI ideal. For enlargements or small prints, scan at 800-900 DPI. Negatives may require up to 3200 DPI for the best results.
Save your scans as TIFF files for archival purposes. TIFF files preserve more detail and color information than JPEGs. You can convert TIFF files to JPEGs later for sharing.
Not every photo needs to be scanned. Skip blurry or less memorable shots. Focus on significant events, family members, and interesting everyday scenes. Remember to scan the backs of photos or envelope covers if they contain essential information.
Post-Scanning Organization
After scanning, rename the files with meaningful names and dates. This makes them easily searchable. Use Mylio Photos to tag your photos with metadata, such as location, dates, face tags, and keywords. Metadata makes your media library easily searchable and more enjoyable.
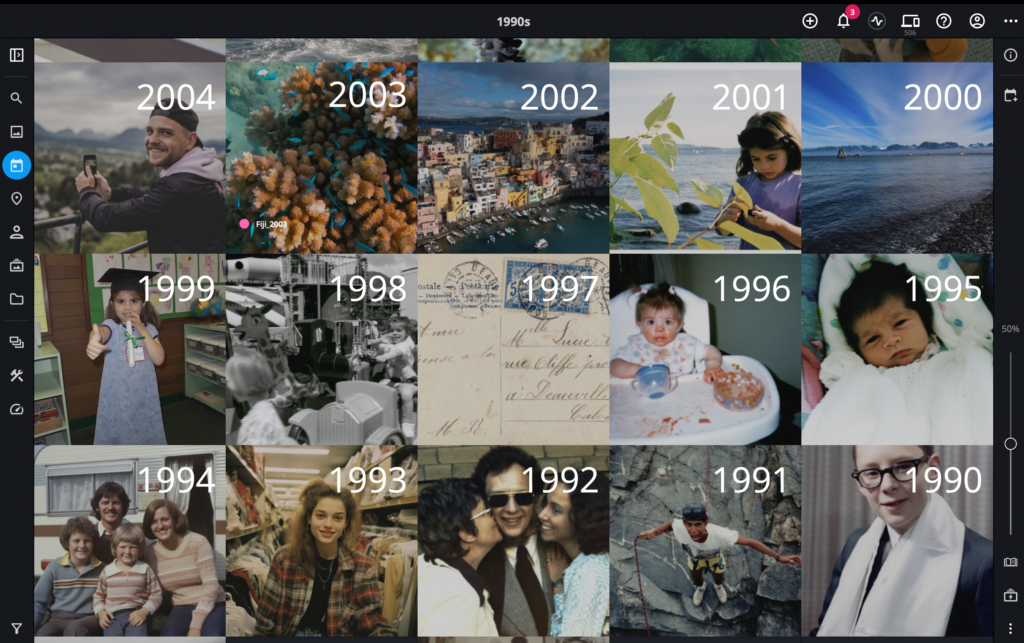
Tag people, locations, events, and dates to make your photos more searchable. Use consistent naming conventions for easier searching. In the caption field, enter detailed descriptions, including any information from the backs of the photos.
There’s no “one size fits all” approach to naming your folders and albums. Think of something that seems logical and reasonable specifically to you. You can organize photos into folders by family name, event, or decade. For example, create a folder named “Family Johnson” with subfolders like “1940s,” “1950s,” and so on. This setup helps you locate photos and narrow down dates when unsure.
Technical Tips
Understanding DPI and PPI (pixels per inch) helps you achieve the best scan quality. Aim for at least 200 DPI for printing, with 300 DPI ideal. Higher DPI settings ensure better print quality and allow for enlargements without losing detail.
When scanning on your own, consider how you’ll use the images. While high DPI settings produce large files, they’re necessary for quality prints. Use the grayscale setting to reduce file size for black-and-white photos without losing quality.
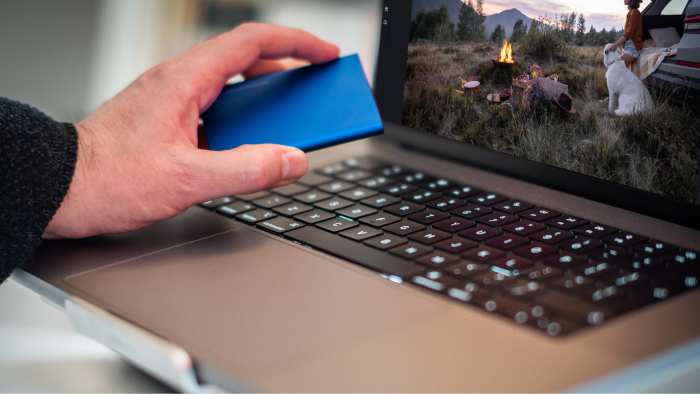
Always back up your scanned photos on different storage devices or cloud services. This ensures your digital archives remain safe from accidental loss or damage. You can easily automate your backup process with Mylio Photos vaults.
By following these guidelines, you can digitize and preserve your family’s photographic history effectively. Enjoy the process of bringing old memories to life through digital preservation!